At the Bench · Technique
Two Ways to Temper, One Knife to Test It
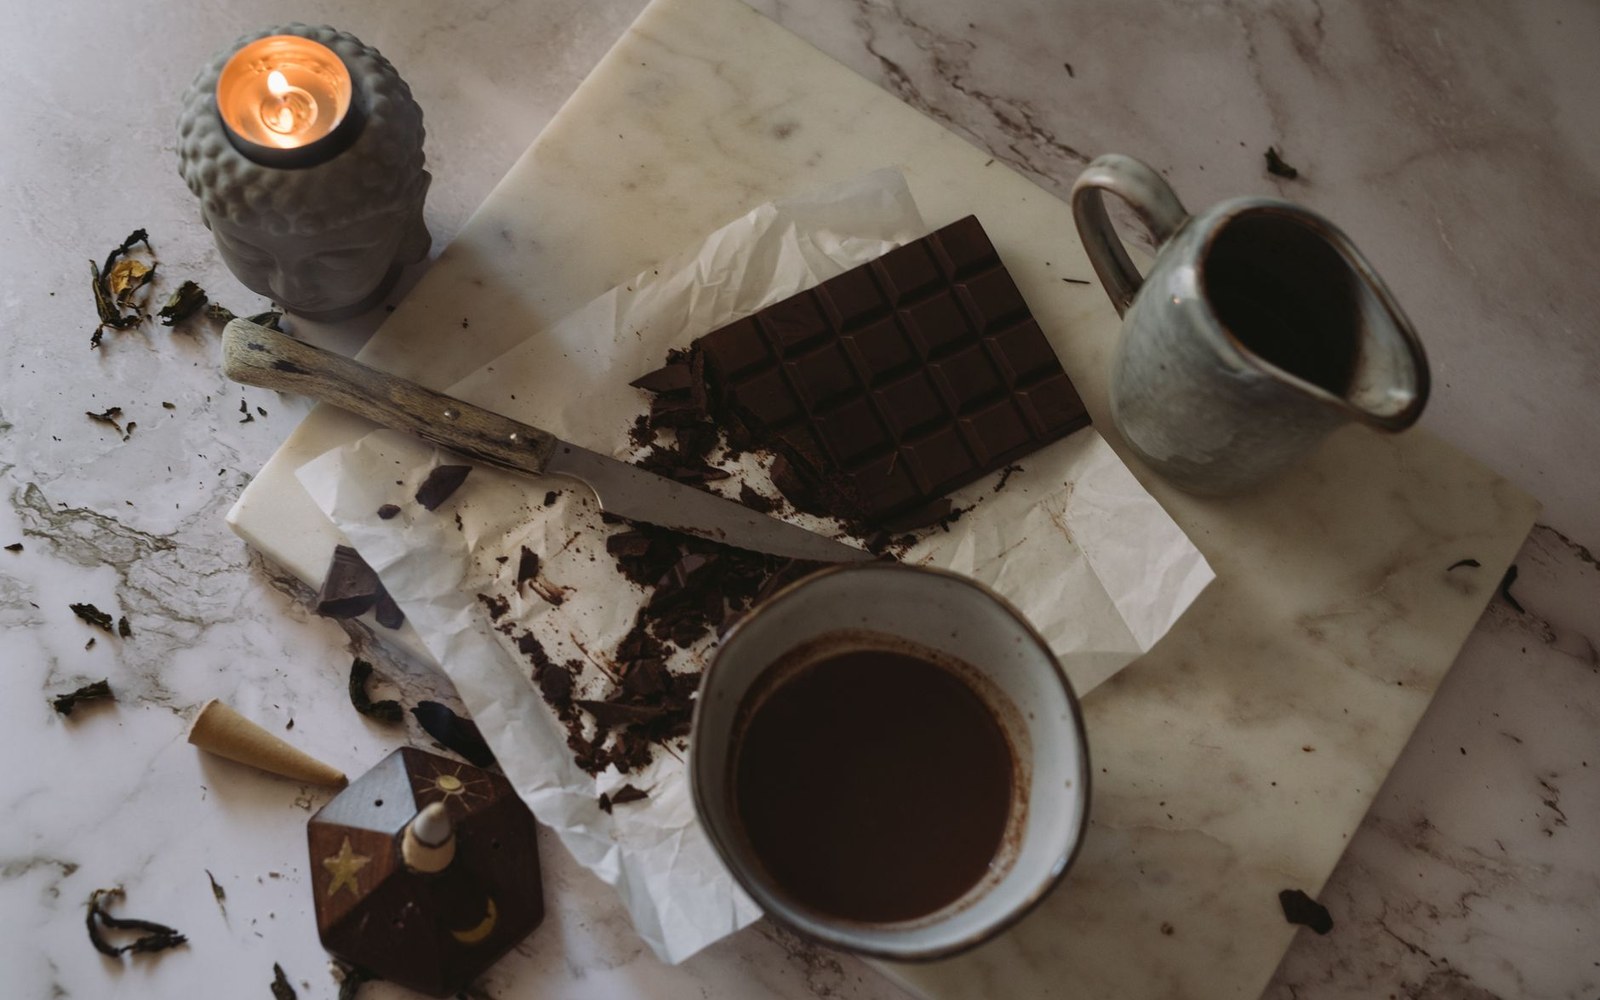 Plate 11
A clean break with a gloss on the fracture is the whole test — and it is the only one that tells you the temper held.
Photo: Leeloo The First / Pexels
The test comes first
Dip the flat of a palette knife into your chocolate. Set it on the worktop. In two minutes at room temperature — around 20 °C — it should be visibly firming at the edges. At five minutes it should be fully set: matte and tight, lifting cleanly off the metal, resistant to a fingerprint. That is the only test that matters. Everything else — thermometers, timing, surface sheen — is preparation for that moment. If the chocolate slides off the knife still liquid at five minutes, or sets with a streaky grey cast, the temper failed and the process begins again.
The crystal you are chasing is Form V, the stable polymorph of cocoa butter that gives finished chocolate its gloss, its snap, and a melt point that sits fractionally below body temperature. Of the six ways cocoa butter can solidify, five are wrong for eating chocolate. The two methods below each arrive at Form V by a different route; the destination is identical.
Method one: seeding
Seeding is the logical method. You introduce pre-tempered chocolate — solid chocolate that already contains Form V crystals — into warm melted chocolate, where the crystals survive, multiply, and bring the whole mass into temper. No cold slab needed; the technique works at a kitchen bench with a bowl and a spatula.
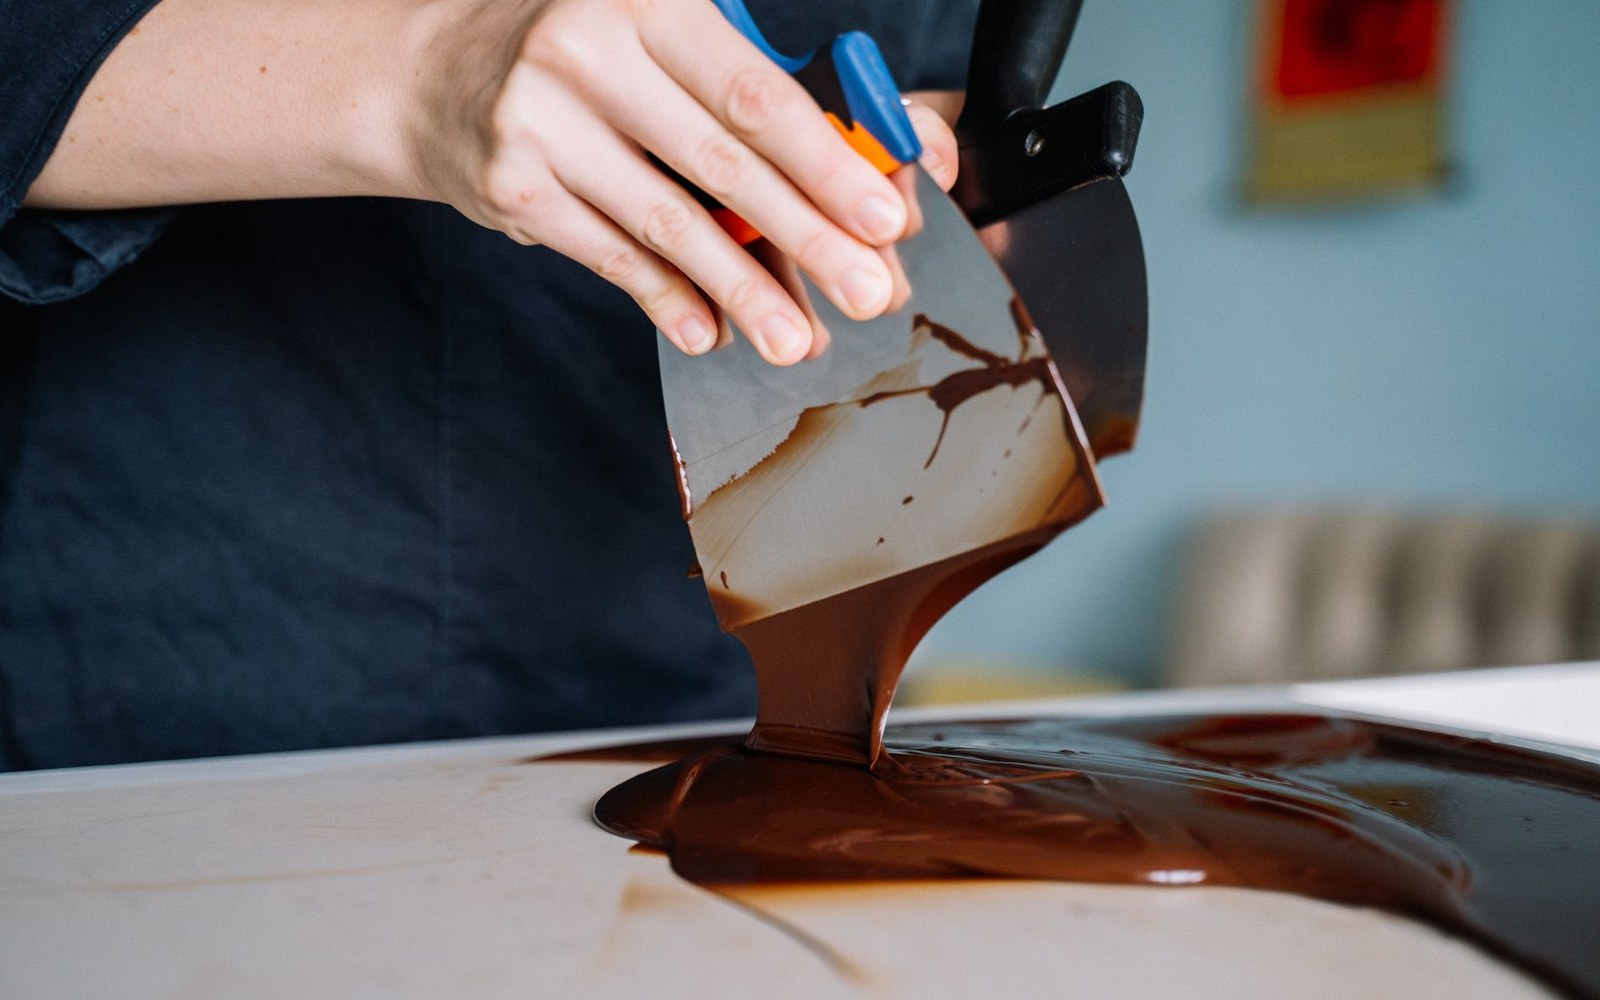
Tabling: the mass is worked across cold marble until it thickens, then returned to the bowl to bring the whole batch into temper.
Photo: Anna Tarazevich / Pexels
Melt. Chop your chocolate — couverture is the professional standard here, because its legally required cocoa-butter content gives the tempering process enough fat to work with — and melt it over a bain-marie or in a microwave in 30-second bursts, stirring between each. The target is complete melt with no lumps: 50–55 °C for dark chocolate, 45–50 °C for milk, 40–45 °C for white. At these temperatures, every existing crystal structure has been destroyed. You are starting with a blank slate.
Seed. Remove from heat. Finely grate or chop solid chocolate of the same type — seed material is usually 20–30% of the total mass — and stir it in handful by handful. The seed chocolate melts partially, releasing its Form V crystals into the warm mass. Keep stirring: this is not a passive operation. The spatula should keep the chocolate moving continuously so that crystals distribute evenly through the liquid and do not cluster at the bottom of the bowl.
Cool and hold. As you stir in seed, the temperature drops. For dark chocolate, you are aiming for a working temperature of 31–32 °C. Milk lands at 29–30 °C; white at 27–28 °C. These ranges are tight — a degree out in either direction matters. At 31 °C, Form V crystals are stable and mobile; above 33 °C they begin to melt back out; below 27 °C in dark chocolate, lower-order crystals form alongside Form V and the result is a soft, grainy set. Use a probe thermometer, check it against the mass rather than the bowl wall, and stir throughout. If the chocolate cools too fast and becomes too thick, a brief pulse of warmth — one second over the bain-marie — brings it back without destroying the temper.
Work fast. Tempered chocolate begins to pre-crystallise as it sits. You have a working window of roughly ten to twenty minutes before it becomes too thick to pour or spread cleanly. Run the knife test at the start of that window. If it passes, proceed.
Method two: tabling
Tabling — the older method, in which melted chocolate is worked on a cold marble slab — is more physical than seeding, and for many people it develops a clearer intuition for what tempered chocolate actually feels like. Marble is the traditional surface because it holds a stable, slightly cool temperature and does not absorb moisture. Granite or cold steel work too. The slab should be clean, dry, and at room temperature — never chilled, because a cold slab creates condensation and a single drop of water will seize the entire batch.
Melt. Melt to the same temperatures as seeding: 50–55 °C for dark, proportionally lower for milk and white. Complete melt, no lumps.
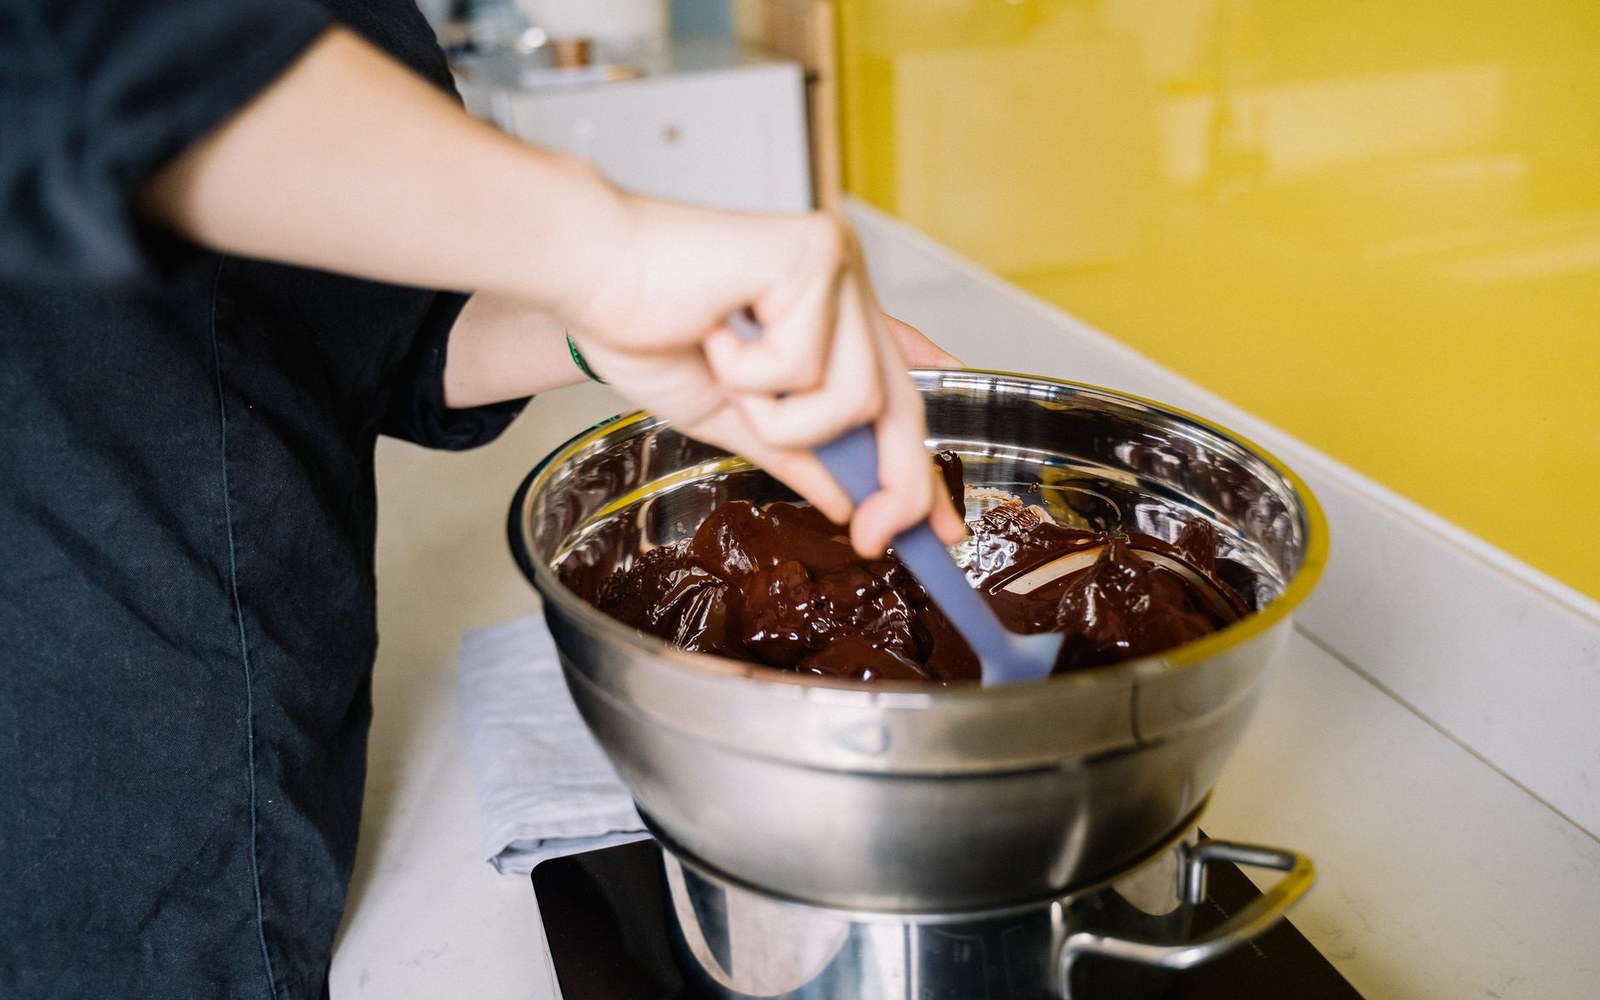
A spatula trail that holds its shape is what a formed emulsion looks like. If it slumps and runs greasy, the phases have separated.
Photo: Anna Tarazevich / Pexels
Pour and work. Pour two-thirds of the melted chocolate onto the slab. Retain one-third in the bowl, kept warm over the bain-marie. Working quickly with a bench scraper in one hand and a wide palette knife or dough cutter in the other, spread the chocolate across the slab and bring it back to the centre repeatedly — a continuous spreading and gathering motion. The aim is to cool the chocolate quickly while keeping it moving. As it cools, it thickens; you are building Form V crystals throughout the mass by keeping it agitated as the temperature falls. For dark chocolate, you are working it on the slab until it drops to 27–28 °C. At this point the chocolate has a pastelike quality and clings slightly to the scraper in a way that warm liquid chocolate does not.
Reheat. Scrape the tabled chocolate back into the retained warm third. Stir them together. The warm chocolate raises the temperature of the tabled mass back up to working temperature — 31–32 °C for dark — melting out any unstable low-order crystals that formed during cooling while leaving Form V intact. The final blend should feel fluid but slightly thickened, with a faint resistance at the spatula. This is the physical sensation of a properly seeded mass that the tabling method makes viscerally clear.
Test immediately. Palette knife, five minutes, same standard as above.
What the test is actually reading
When the knife shows a fully set, glossy film at five minutes, it is confirming that Form V crystals are present in sufficient density to drive the entire mass into stable crystallisation. The International Cocoa Organization notes that proper tempering is the decisive factor in finished chocolate texture — no amount of quality raw material compensates for a failed temper. What the knife is not doing is distinguishing between the two methods: a correctly seeded batch and a correctly tabled batch are, crystallographically, identical. The test reads the outcome, not the process.
A set that is dull rather than matte-shiny — slightly chalky — indicates fat bloom in progress: the cocoa butter is crystallising into mixed, unstable forms and will eventually migrate to the surface as the white haze characteristic of fat bloom. Start again. A set that looks acceptable but leaves a smear on the finger rather than lifting cleanly indicates the temperature is slightly high: the crystal network is there but thin. Return the bowl to the bain-marie for no more than a second, stir, cool back to the working range, and re-test.
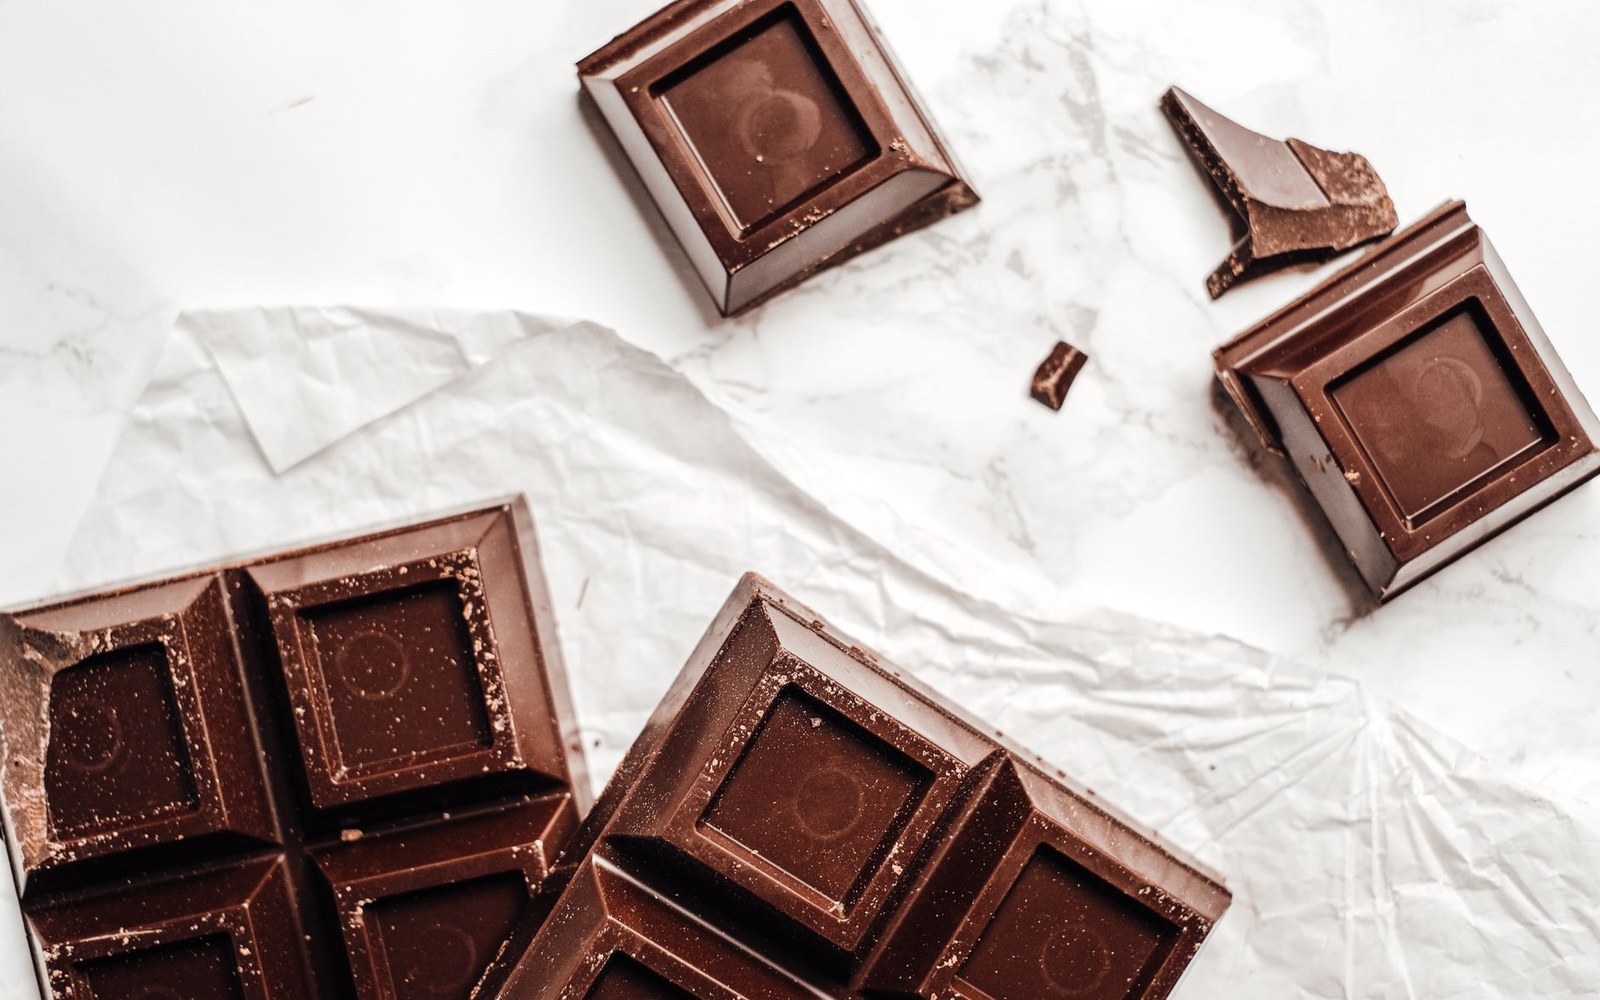
Fat bloom: cocoa butter that recrystallised out of Form V. Harmless, still edible, and the bar can be melted and tempered again.
Photo: Vie Studio / Pexels
Both methods fail the same ways. Too hot: crystals melt out, chocolate stays liquid or sets tacky. Too cold: wrong crystals form alongside Form V, set is grainy and soft. Too little movement during seeding or tabling: crystal distribution is uneven, set is patchy. The knife catches all of these failures before they reach a mould or a ganache coat, while there is still time to recover the batch.
The cost of failure, at current prices, is worth noting. Cocoa passed $10,000 a tonne on ICE Futures in early 2024 ↗ and the retail price of couverture has followed: a kilogram of quality dark couverture that cost less than £10 two years ago now costs considerably more. The knife test is five minutes, a flat piece of metal, and the difference between chocolate you can use and chocolate you have to remelt.
More from At the Bench